Installation
Step 1: Install the app by going to https://apps.shopify.com/advanced-theme-builder.
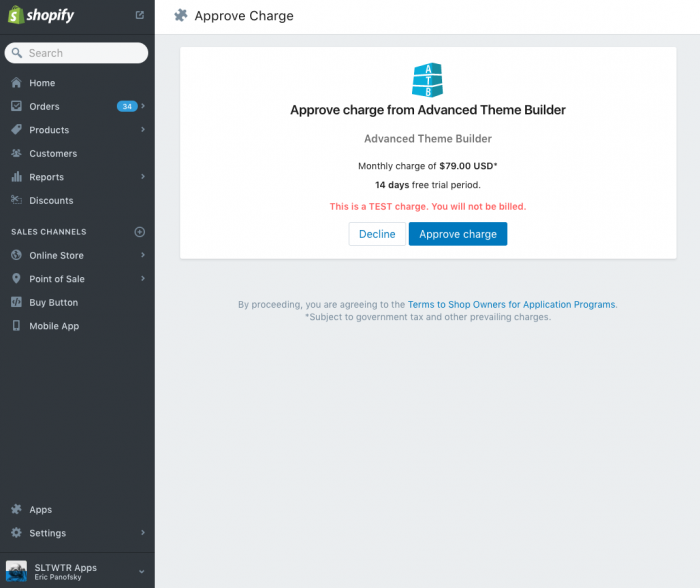
Step 2: Approve the monthly billing. Remember you get a free 30 day trial to see how much you will love ATB.
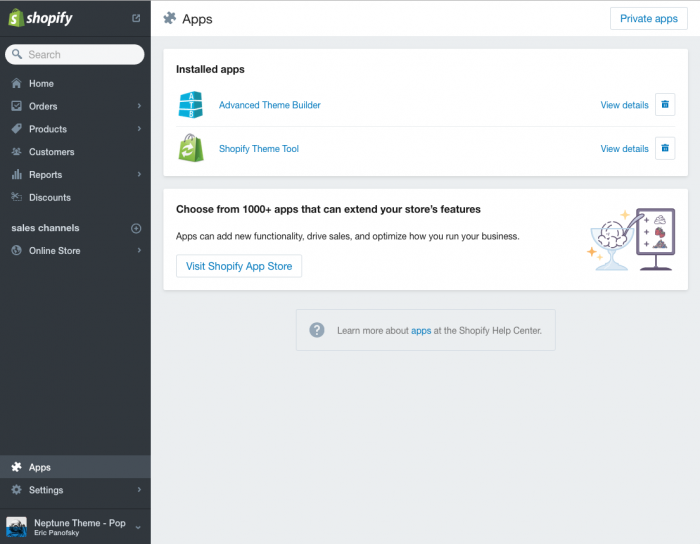
Step 3: Launch the app in the Apps section of your Shopify website.
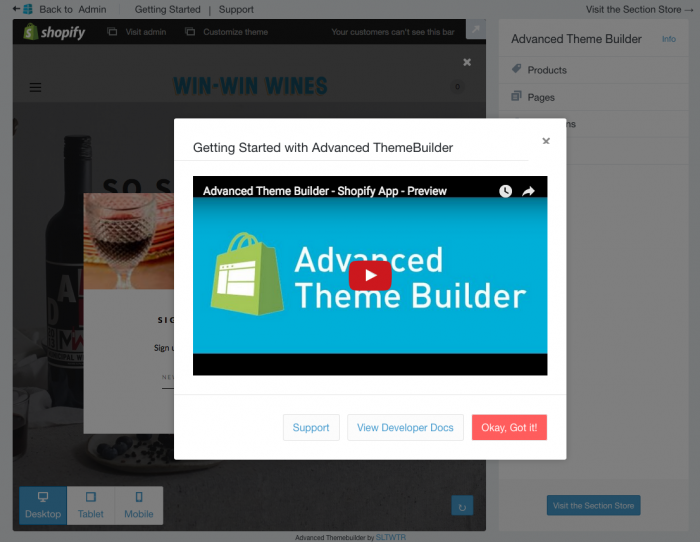
Step 4: Once the app is launched, Sections Anywhere will open in a new tab. Please watch our quick video on getting started.
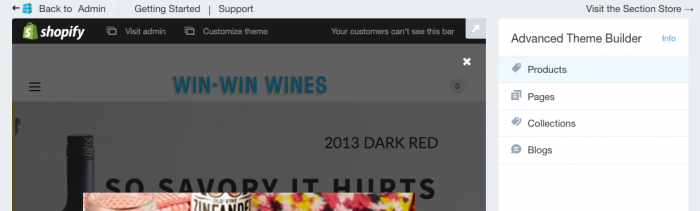
Getting Started
Step 1: Choose from Products, Pages, Collections or Blog Posts in the right hand sidebar to get started. For this tutorial we will select Products.
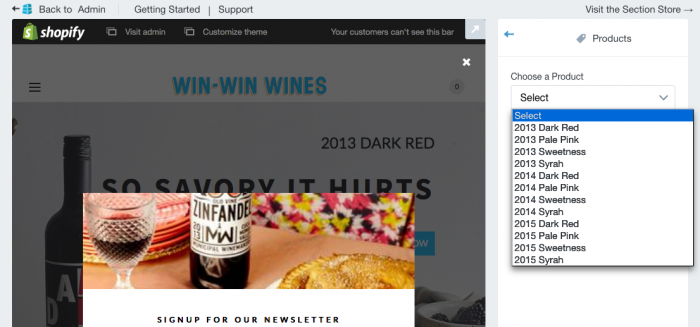
Step 2: The dropdown menu will be populated with your products. Choose a desired Product.
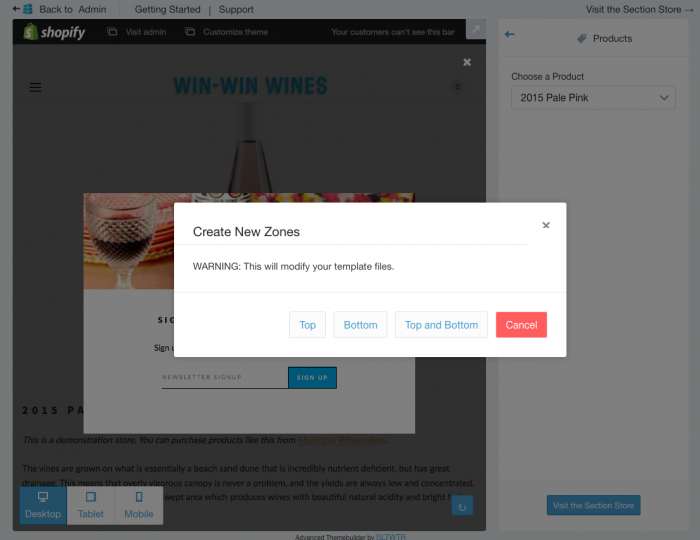
Step 3: Create New Zones. This step will inject liquid placeholders into this product’s template file. We like to have the option to add content to the top and bottom of the product page, so here we will click the button for Top and Bottom. Note: Once an option has been set, the only way to modify this in the future is to manually edit this Product’s page template. If using the Shopify Theme App, make sure to download file to your local machine.
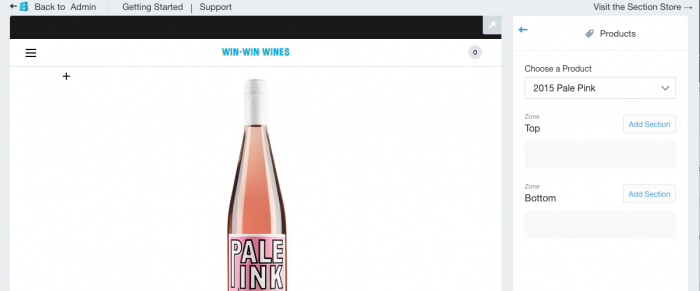
Step 4: You now have Zones for Top and Bottom in the sidebar. We are going to click the Add Section button for the Bottom zone.
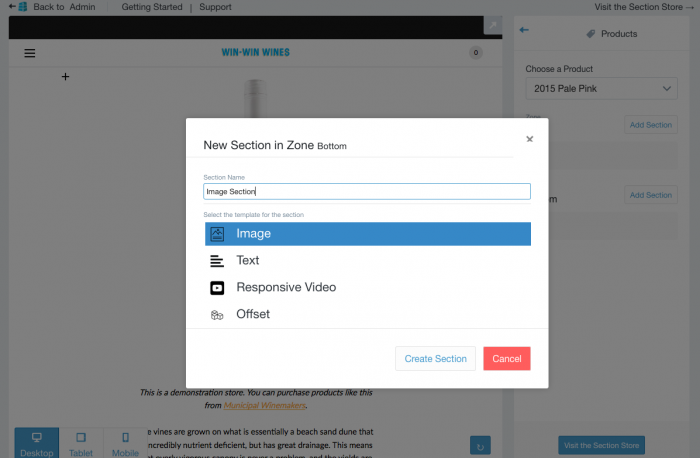
Step 5: In the modal pop up window, give your new section a name and select the template for the section, we are going to choose the Image section. Click the Create Section button.
Step 6: Now it is time to populate the content for this new section. Here in our screenshot you can see we have chosen title, content, and button. Once populate, click the Save Section button and upon refresh you will see your changes. Some changes may take up to a minute to show.
Add more sections to Sections Anywhere
Visit Section Store to download new sections for Sections Anywhere and Shopify Sections.